01
Stripe repeat
Specify band widths and the sequence at chest, sleeve and hem before cutting.
Custom Menswear Manufacturing / OEM & ODM / Worldwide Delivery
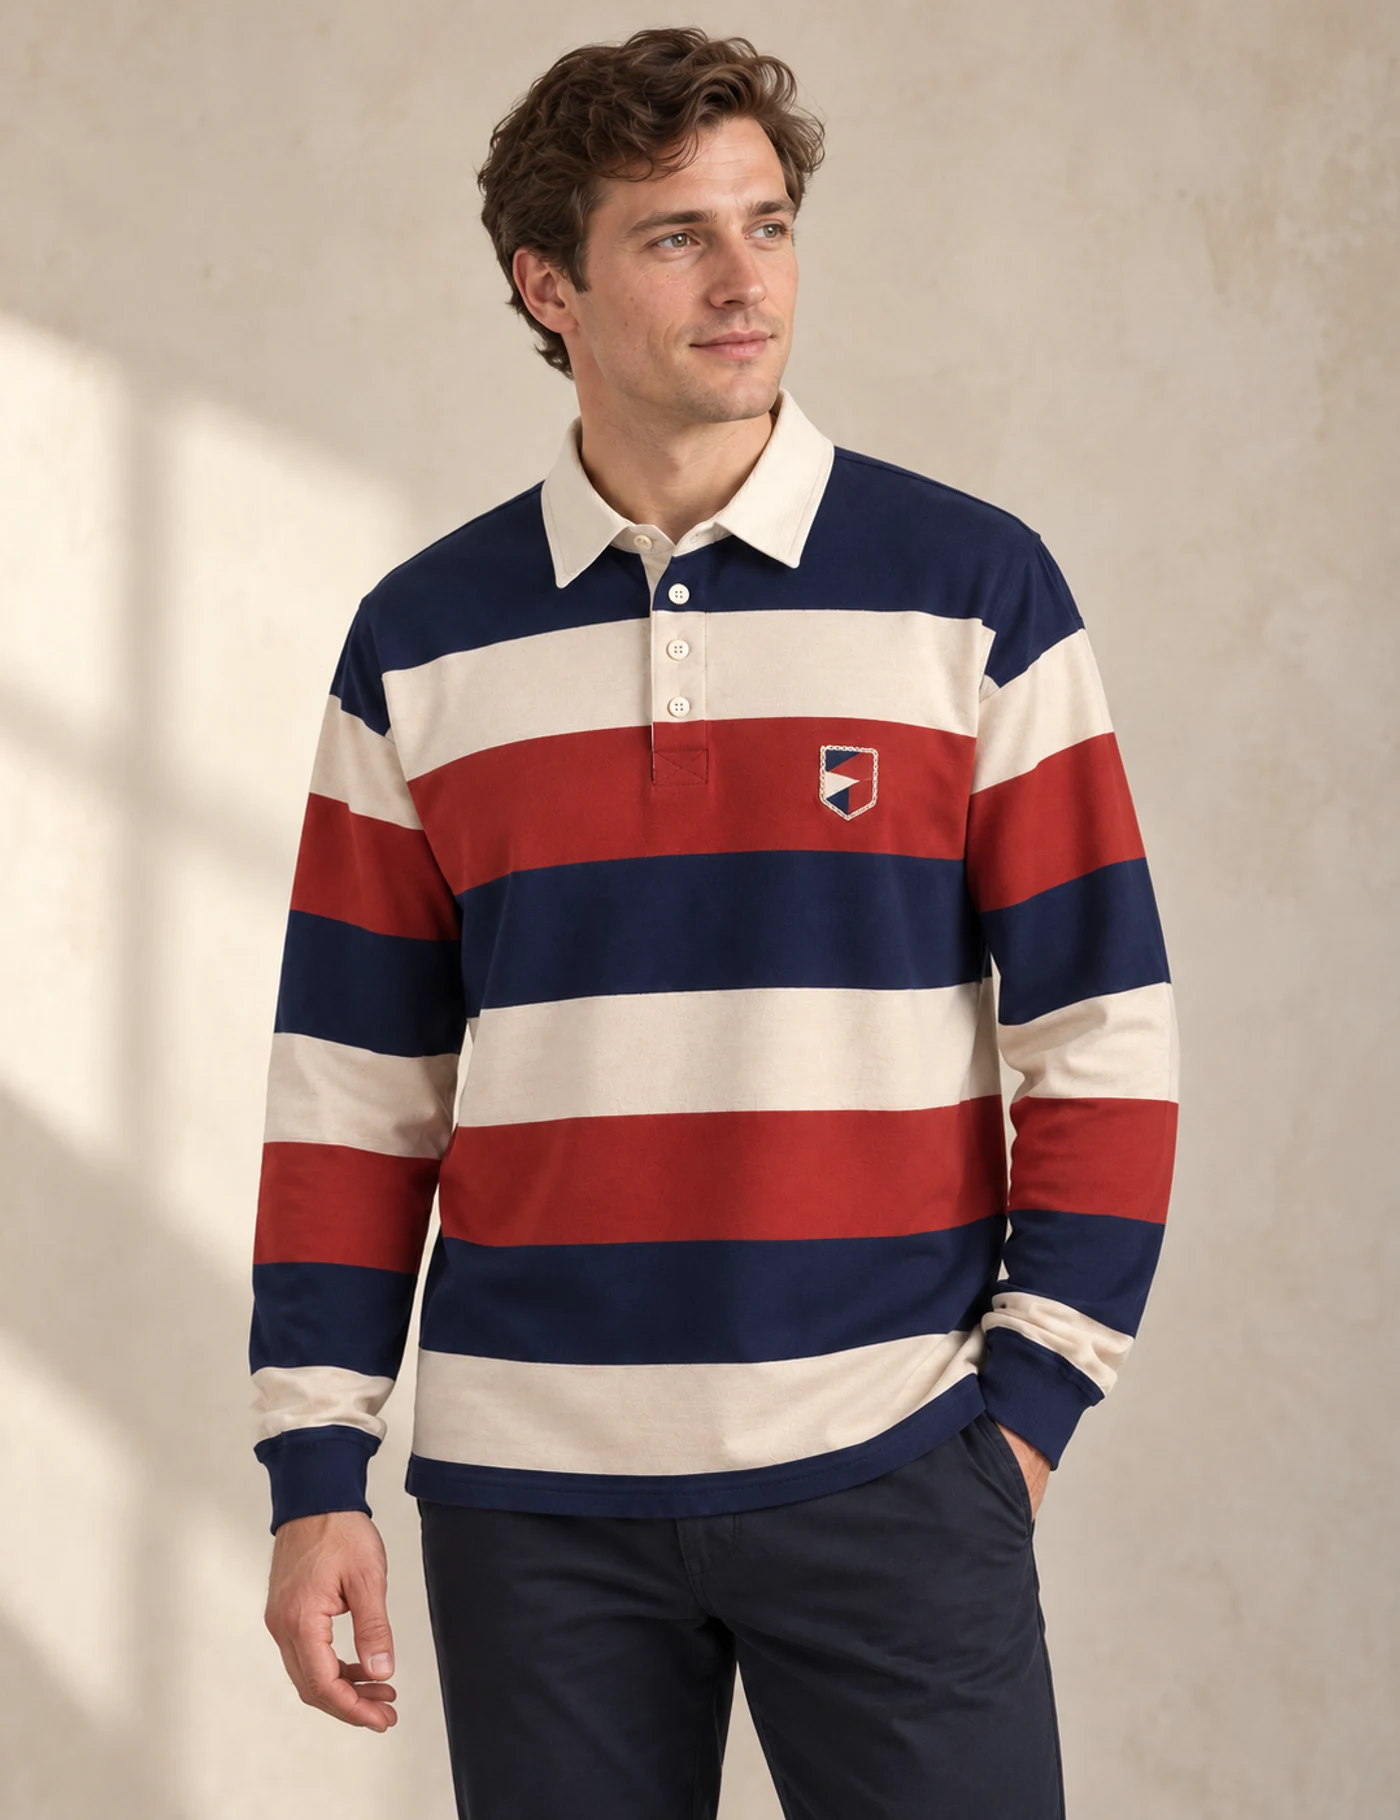
PK-107 / Actual sample reference
Broad navy, cream and brick-red bands define this long-sleeve rugby shirt. A cream collar and four-button placket frame the neckline, while a small shield badge sits on the left chest. Development centers on stripe alignment, collar shape and placket stability before the fabric and branding specification is approved.
01
Actual sample shown
02
Custom development
03
Sample approval before bulk
04
Project-specific quotation
Actual sample evidence
The front, back and side reference images show band widths, collar contrast and cuff treatment. Use them to define matching points before the striped fabric is cut.
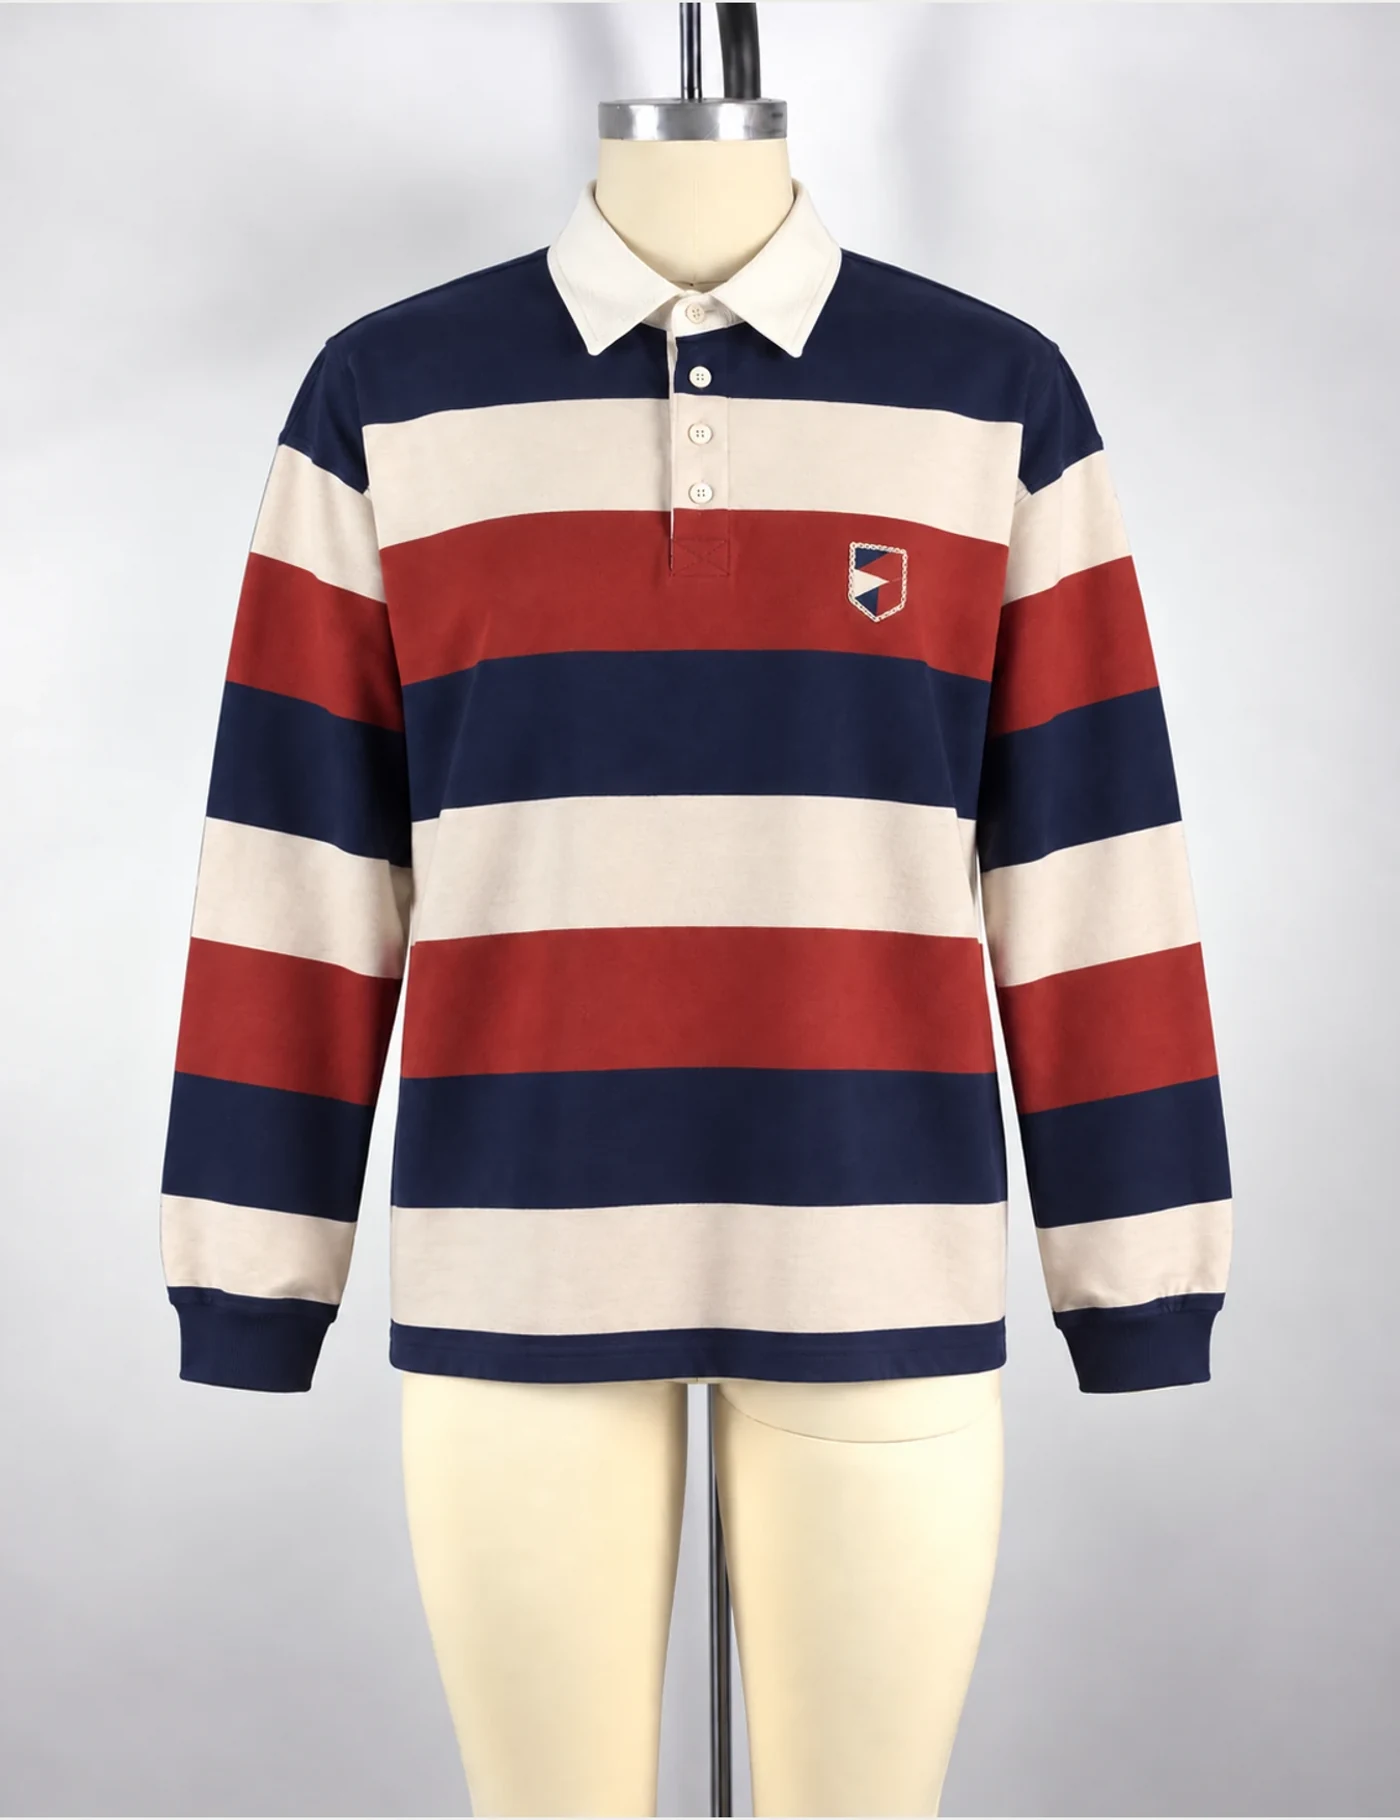
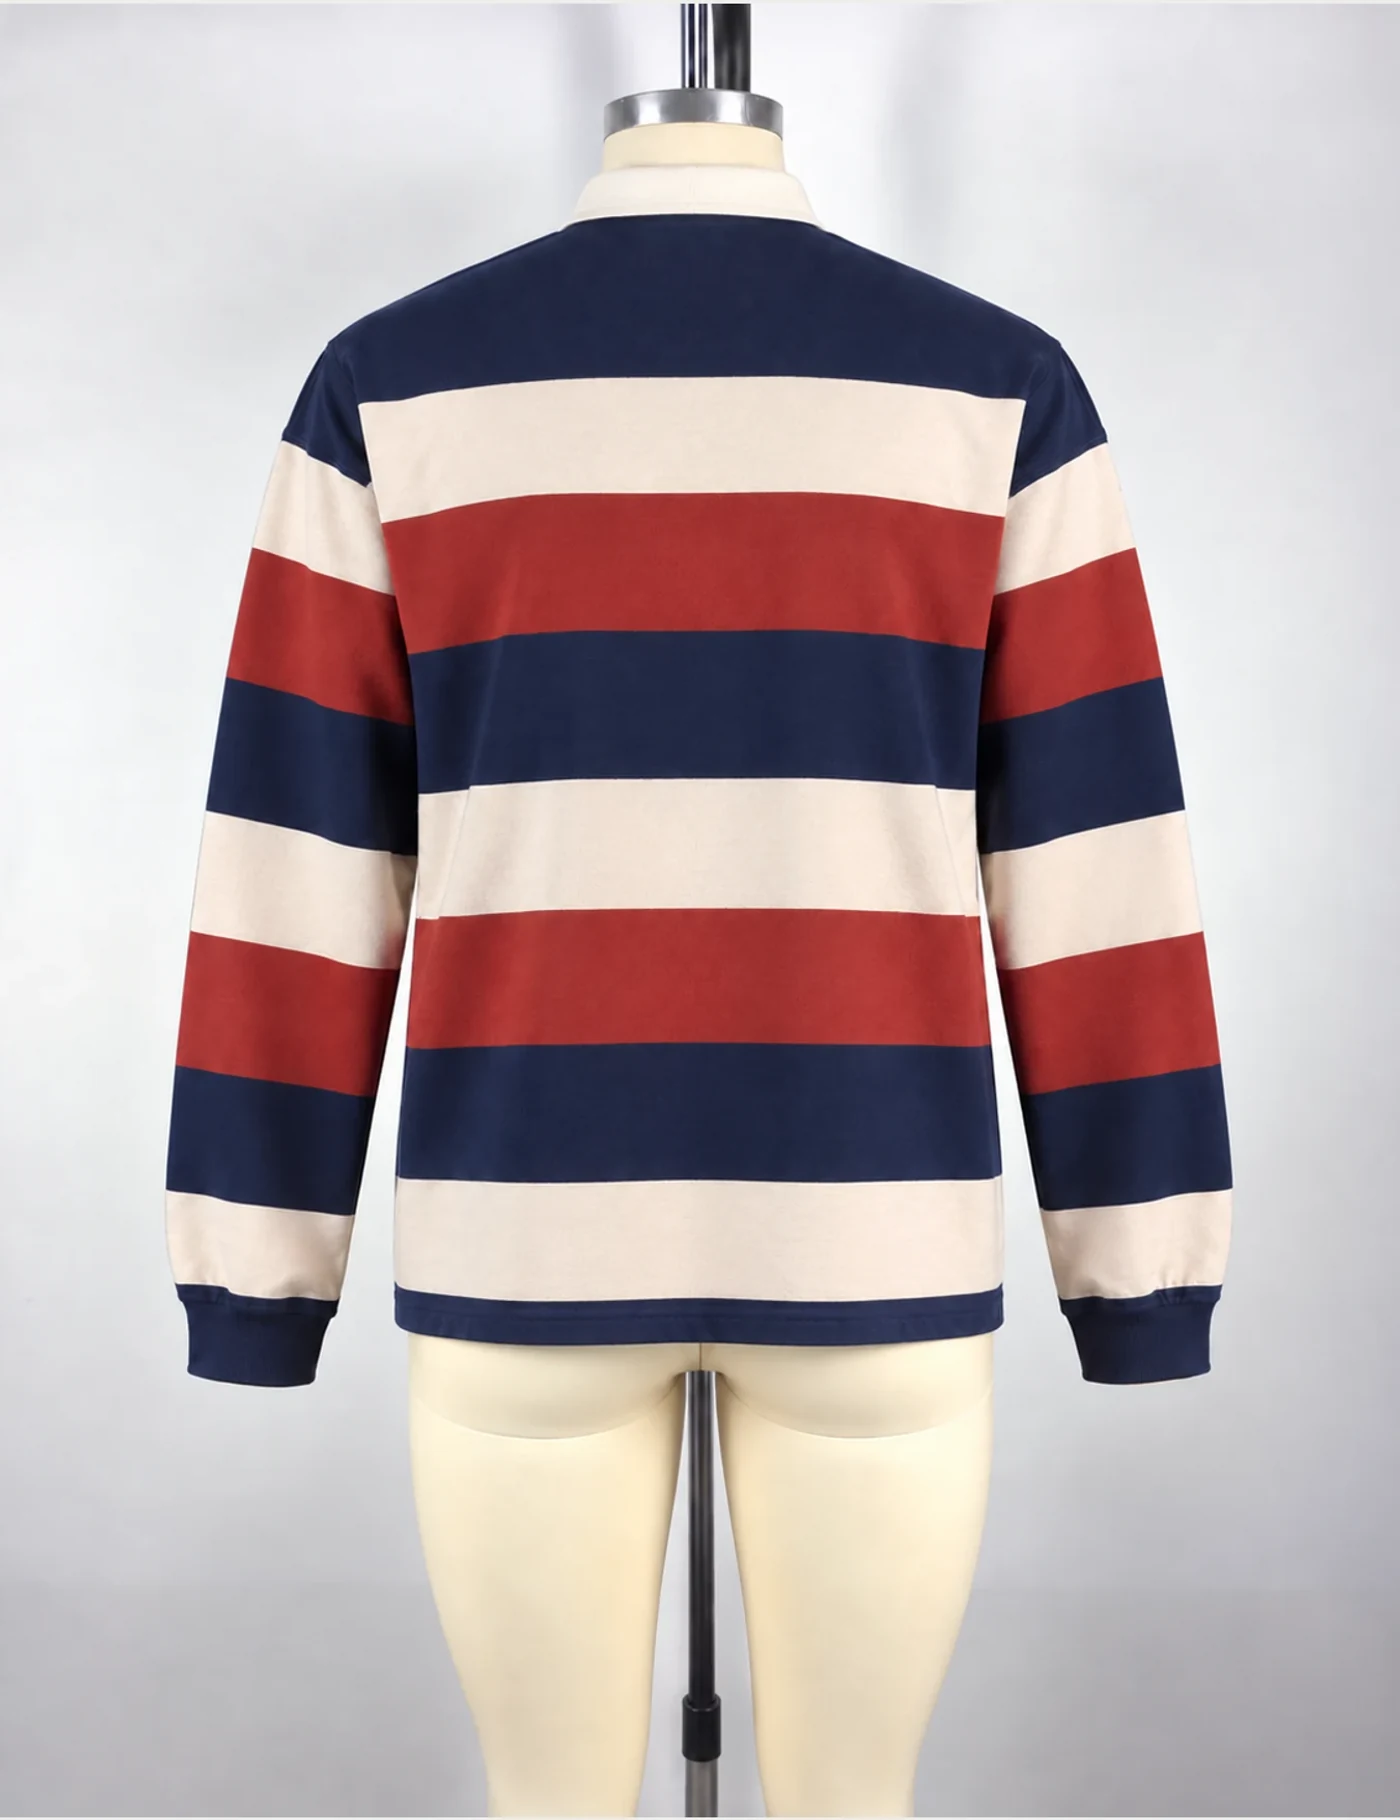
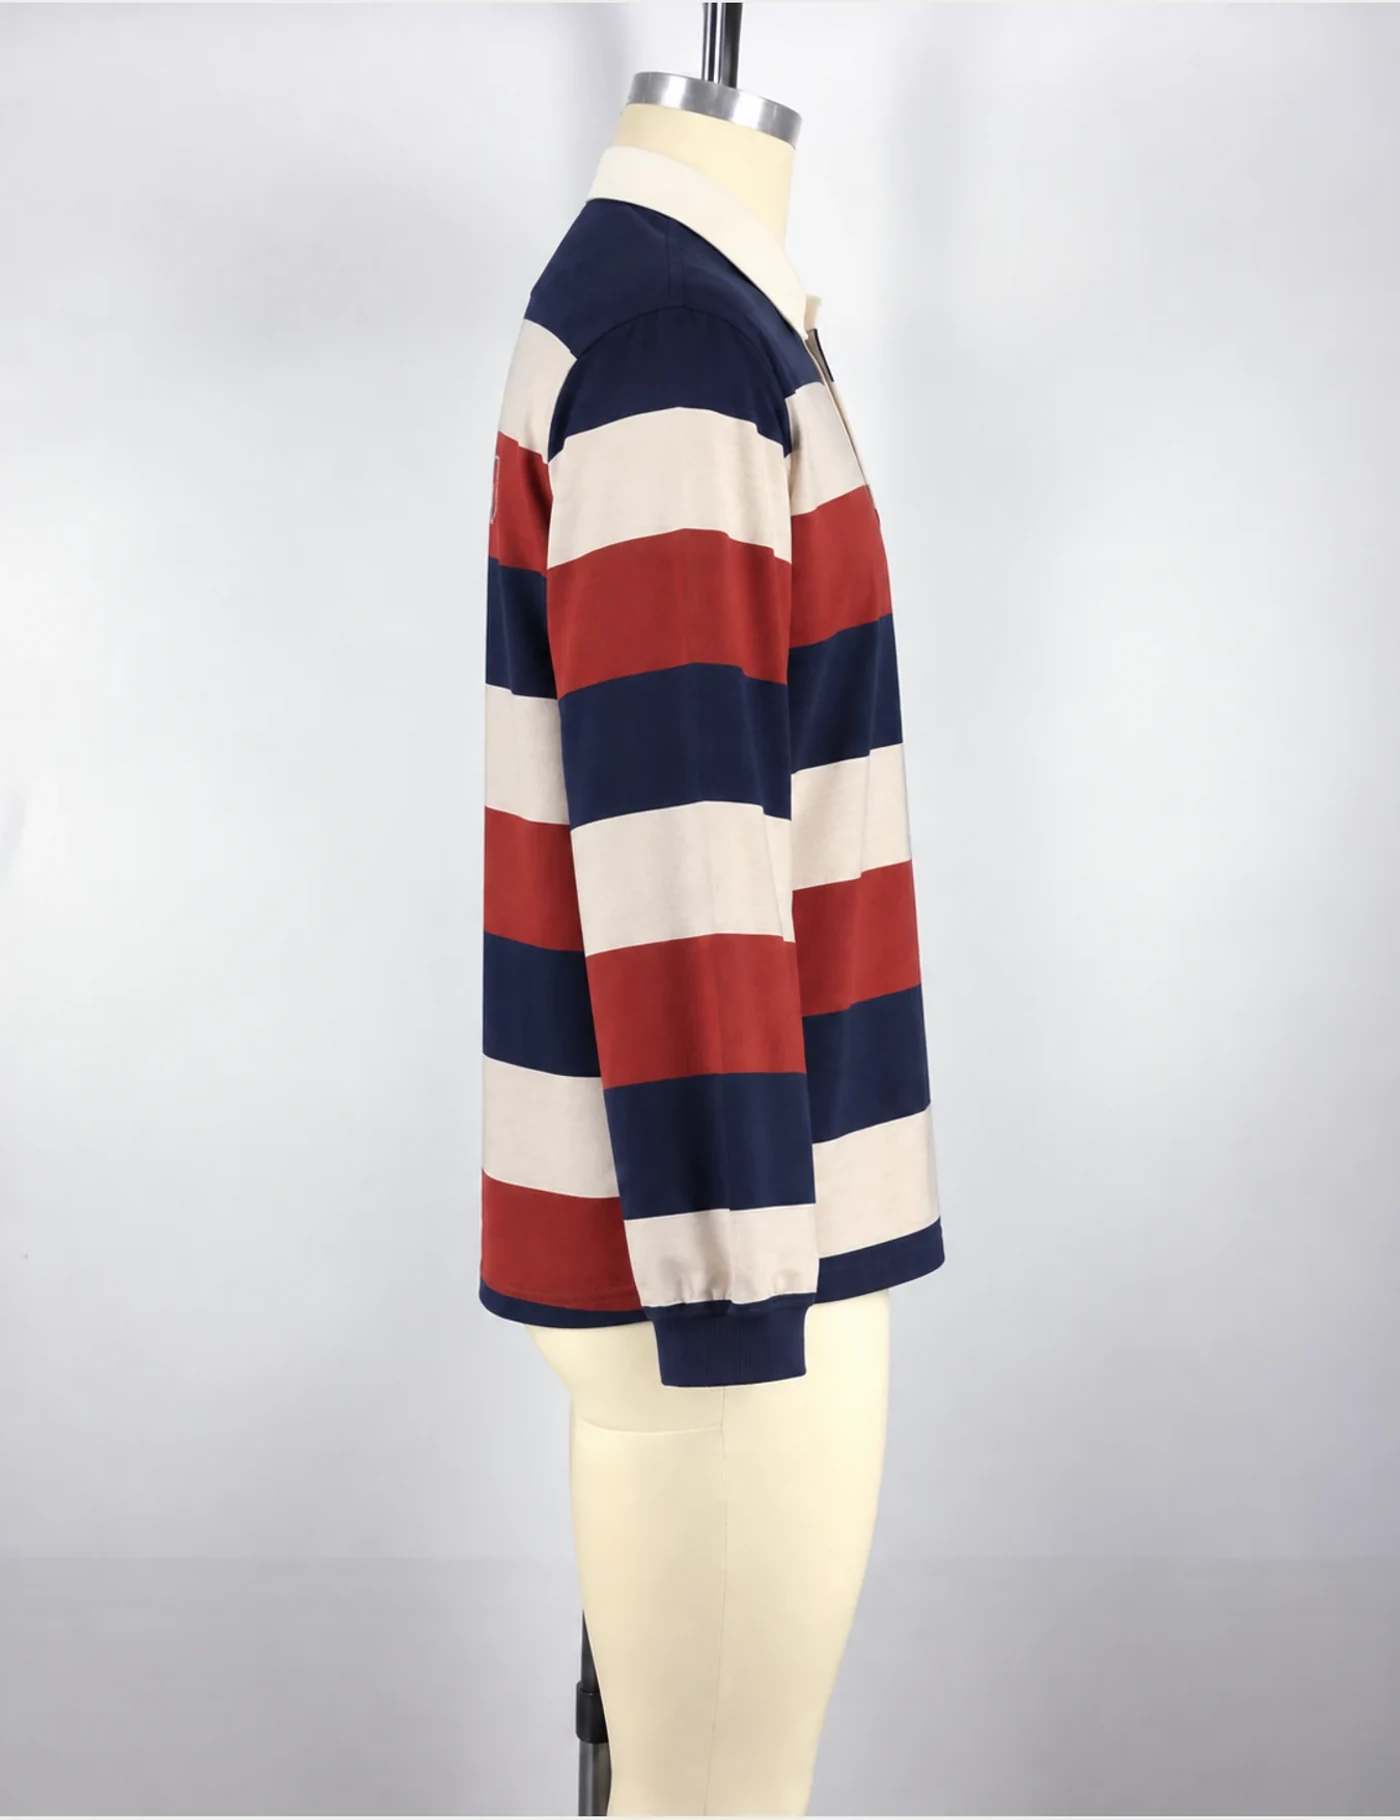
Visible on the sample
Confirmed for your project
Customization map
Rugby-shirt proportions depend on where the repeat meets the neckline and hem. Fix those relationships before adjusting individual trims.
01
Specify band widths and the sequence at chest, sleeve and hem before cutting.
02
Develop collar width, point length and material contrast against the body knit.
03
Choose opening depth, button spacing and reinforcement to control neckline distortion.
04
Translate approved artwork into a sampled badge or decoration; confirm its method separately.
05
Adjust shoulder drop, sleeve volume and length without losing stripe balance.
06
Agree labels, button color and packing after approving the cream and red shade standards.
Specification status
The visible color arrangement is a reference; fabric weight, stripe production and badge construction require physical approval.
Related product references
Development path
A clear repeat plan keeps fit revisions from shifting the chest stripe or disturbing the collar and placket.
Mark the band sequence and intended matching points on a front, sleeve and back drawing.
Review a striped fabric swatch beside the cream collar material for hand, shade and dimensional compatibility.
Sample the four-button opening and badge position on the intended chest stripe.
Review shoulder width, collar roll and sleeve-to-body stripe alignment after the agreed care test.
Sign off band tolerances, placket workmanship, badge execution and the size chart before production.
Quality checkpoints
Inspect matching, color migration and neckline stability as connected risks on this three-color shirt.
Compare bands at side seams, sleeves and front placket against the approved placement map.
Check color migration from navy and red into the light collar and bands under the agreed care method.
Inspect placket squareness, button spacing and the lower reinforcement.
Measure the shield from the center front and shoulder reference points.
Check rib attachment and sleeve opening after wear and care testing.
Measure body and sleeve length after finishing, with stripe skew included in the review.
Buyer questions
Yes. Start with a repeat drawing that sets each band width and its position at the neckline and hem. The fabric route and order quantity are reviewed before a replacement repeat is sampled.
No. It is part of this sample's visual reference. Your artwork, decoration method, size and placement are approved separately; the pictured badge should not be treated as your brand artwork.
It is a casual long-sleeve rugby-shirt reference. Sport-specific durability or performance requirements need their own material and testing brief.
Check stripe alignment with the shirt worn, the cream collar shape, the placket opening and the badge position. Approve care-test results and final measurements alongside appearance.
Continue the evaluation
Custom development / PK-107
Send band colors, stripe widths, badge artwork and a size chart to begin a project-specific sample review.